When you try to change chandelier bulbs and it feels like a duel with glass and gravity, we’ve got bright ideas that keep your sparkle—and sanity—intact.
You’d think it’d be simple to change chandelier bulbs, right? Then you’re wobbling on a ladder, staring up at a stubborn glass cover like it’s guarding crown jewels. One wrong twist and—bam—there goes your Saturday. That tiny burnt-out bulb suddenly feels like a high-stakes mission hovering over your dining table.
Here’s the deal: it’s not about brute force; it’s about smart moves. A little know-how keeps the sparkle alive, your glass intact, and your nerves steady. No drama, no cracked shades—just light back where it belongs.
5 Steps To Change Chandelier Bulbs Safely
Changing ceiling lighting can feel like a hassle, especially when you need to change chandelier bulbs high above the floor. Still, with the right prep and a steady approach, you can safely change chandelier bulbs, swap a chandelier light bulb, and handle routine bulb replacement without stress. Let’s break it down clearly and keep things safe.
Step 1 – Power off and secure your Chain Hung or Semi-Flush Mount fixture
Before you change chandelier bulbs, deal with the power properly.
-
At the panel:
-
Turn off the breaker connected to the electrical circuit.
-
Confirm the fixture no longer responds to the wall switch.
-
-
At the ceiling:
-
For a chain hung light:
-
Hold the body steady to limit swing.
-
Check canopy screws for tightness.
-
-
For a semi-flush mount:
-
Press upward gently to confirm it’s firmly secure.
-
Look for loosened mounting brackets.
-
-
-
Safety basics:
-
Use a stable ladder.
-
Keep one hand bracing the fixture when needed.
-
Never trust just the wall switch.
-
This prep keeps your chandelier from shifting while you change chandelier light bulbs and reduces strain on wiring.
Step 2 – Remove old E12 and Medium Base bulbs from Metal or Crystal arms
Now it’s time to remove the old bulbs.
Focus on these key points:
-
Support delicate metal arms or crystal arms with one hand.
-
Turn E12 base bulbs slowly counterclockwise.
-
For a medium base, grip near the bottom—not the glass tip.
If a bulb feels stuck, don’t force it. A slight back-and-forth motion helps. When you remove bulbs from ornate designs, keep pressure off decorative elements. This makes it easier to change chandelier bulbs without twisting sockets loose.
Quick checklist:
-
Cool bulb?
-
Stable ladder?
-
Arm supported?
Good. Continue.
Step 3 – Inspect socket and choose compatible LED, CFL, or Smart Bulb
Before you install anything new, inspect the socket carefully.
Look for:
-
Burn marks
-
Loose metal tabs
-
Cracked insulation
Then confirm bulb type compatibility. Not all compatible bulbs fit every chandelier.
| Socket Type | Common Bulb | Max Wattage | Typical Voltage |
|---|---|---|---|
| E12 | LED bulb (candelabra) | 40W equiv. | 120V |
| E26 | CFL bulb / LED | 60–100W equiv. | 120V |
| G9 | LED capsule | 5–7W | 120V |
| GU10 | LED spotlight | 5–8W | 120V |
Match wattage and voltage exactly. If using a smart bulb, confirm app and dimmer compatibility. Choosing the right compatible bulbs prevents flicker and overheating when you change chandelier bulbs.
Step 4 – Support multi-tier or Adjustable Height arms before swapping bulbs
Large fixtures need extra care during bulb swapping.
-
For a multi-tier chandelier:
-
Stabilize the lowest tier first.
-
Move upward level by level.
-
Avoid leaning weight on decorative rings.
-
-
For adjustable height models:
-
Confirm locking collars are tight.
-
Check the central rod for movement.
-
-
Protect the chandelier structure:
-
Support arms during swapping bulbs.
-
Watch for stress at connection joints.
-
Maintain overall stability.
-
Careful handling matters. A little shift at one joint can affect the entire frame. Take it slow while you replace chandelier bulbs to avoid costly repairs.
Step 5 – Restore power and test Dimmable function in the Dining Room
With everything installed, restore power at the breaker.
Then:
-
Flip the wall switch.
-
Observe full brightness.
-
Adjust the dimmable setting gradually.
In the dining room, check overall lighting spread across the table. No flicker? No buzzing? Great.
Do a quick final check:
-
All bulbs aligned evenly
-
No exposed wiring
-
Smooth operation of dimmer or smart controls
When done right, you not only change chandelier bulbs safely—you also improve the look and performance of your space. And next time you need to change chandelier bulbs, it’ll feel way less intimidating.
Step-By-Step: Glass Cover Removal For Bulb Swap
Swapping out a light sounds simple, yet when you change chandelier bulbs, the glass cover can slow you down. Some covers twist, some lift, some feel stuck. If you want to change chandelier bulbs safely without cracks or scratches, it helps to know exactly what you’re handling before you touch a single screw.
Identify Modern vs. Traditional glass or Crystal covers
When preparing to change chandelier bulbs, start by checking the glass cover type or crystal cover style installed on your fixture.
-
Modern fixtures
-
Clean lines and slim cover material
-
Lighter glass thickness
-
Simple curves in a modern chandelier design
-
-
Traditional fixtures
-
Decorative crystal shape with deeper bowls
-
Heavier material tied to a traditional fixture aesthetic
-
Multiple attachment points hidden under trim
-
Look closely at mounting details:
-
Thin lip with visible fasteners usually signals tempered glass.
-
Ornate edging and patterned reflections often indicate crystal.
-
Frosted domes are commonly acrylic and lighter to handle.
Knowing this makes changing chandelier bulbs feel less risky and more controlled.
Loosen Chrome or Bronze frame screws with the right screwdriver
Before you change chandelier bulbs, inspect the frame hardware carefully.
-
Check the finish
-
Shiny chrome finish often pairs with Phillips heads
-
Dark bronze hardware may use flat-head or hex screws
-
-
Match the tool
-
Identify the screw head size precisely.
-
Select the correct screwdriver type.
-
Align it straight to protect the tightening mechanism.
-
Support the cover while turning the frame screws counterclockwise. On heavier frame material, loosen each screw slightly in rotation instead of removing one completely at once. That small habit keeps pressure balanced and prevents stress cracks while you replace chandelier bulbs.
Lift off covers gently to prep for bulb replacement
Now comes the hands-on part of changing chandelier bulbs.
-
Positioning
-
One hand under the center for support method
-
One hand steadying the rim for control
-
-
Removal flow
-
Confirm all fasteners are fully released.
-
Lower the cover using a smooth lifting technique.
-
Place it on a padded surface for safe cover removal.
-
Keep your focus on bulb access and overall fixture preparation. Small safety precautions, like wearing light gloves, help avoid fingerprints and slips.
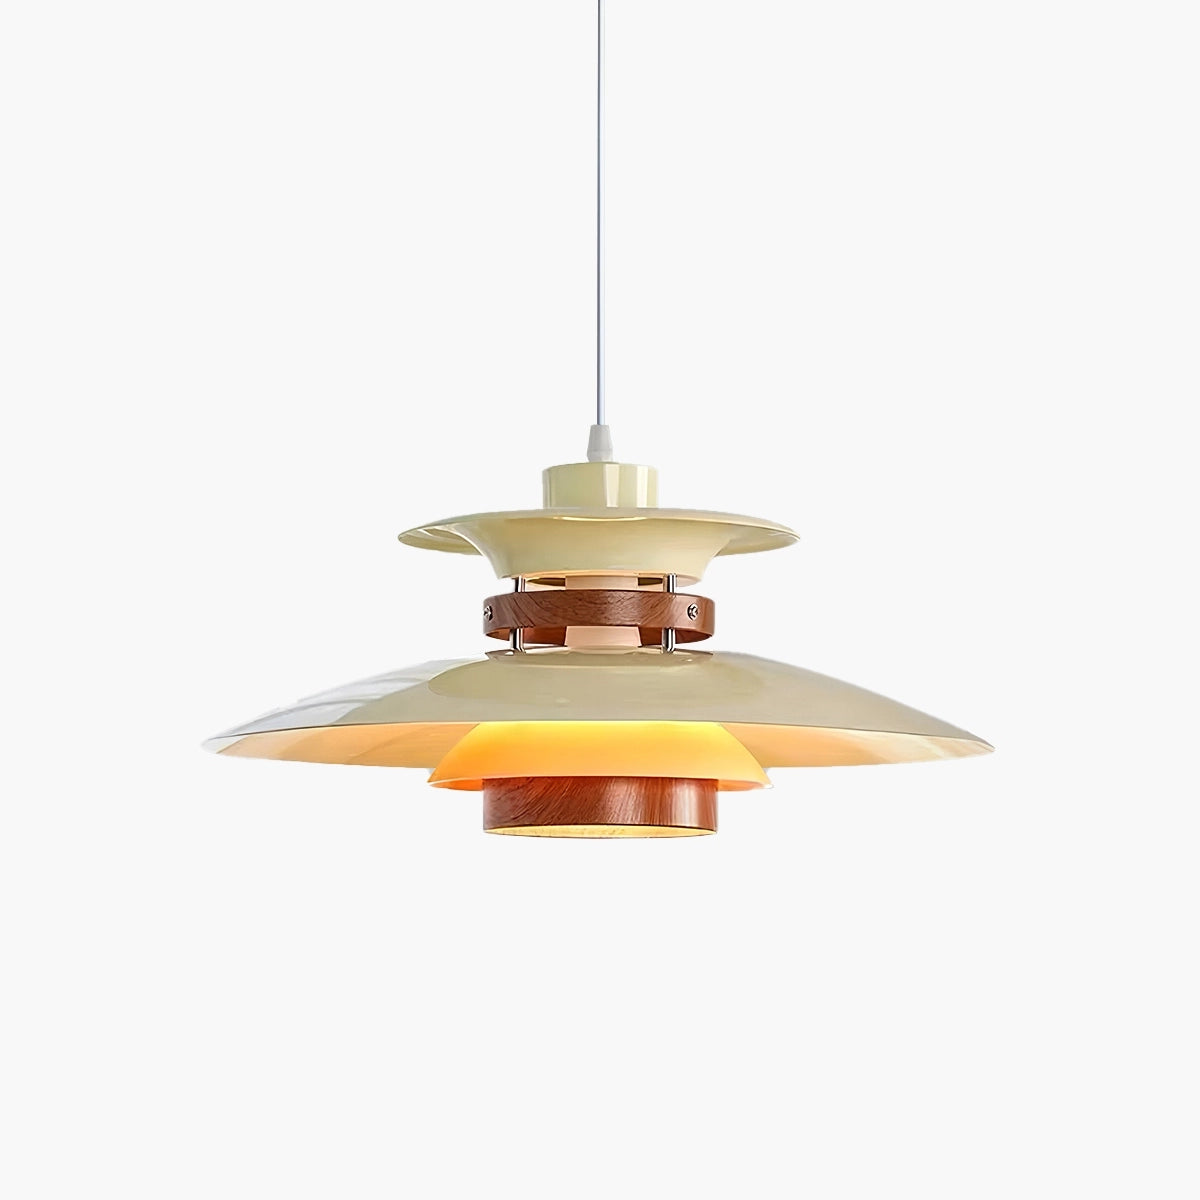
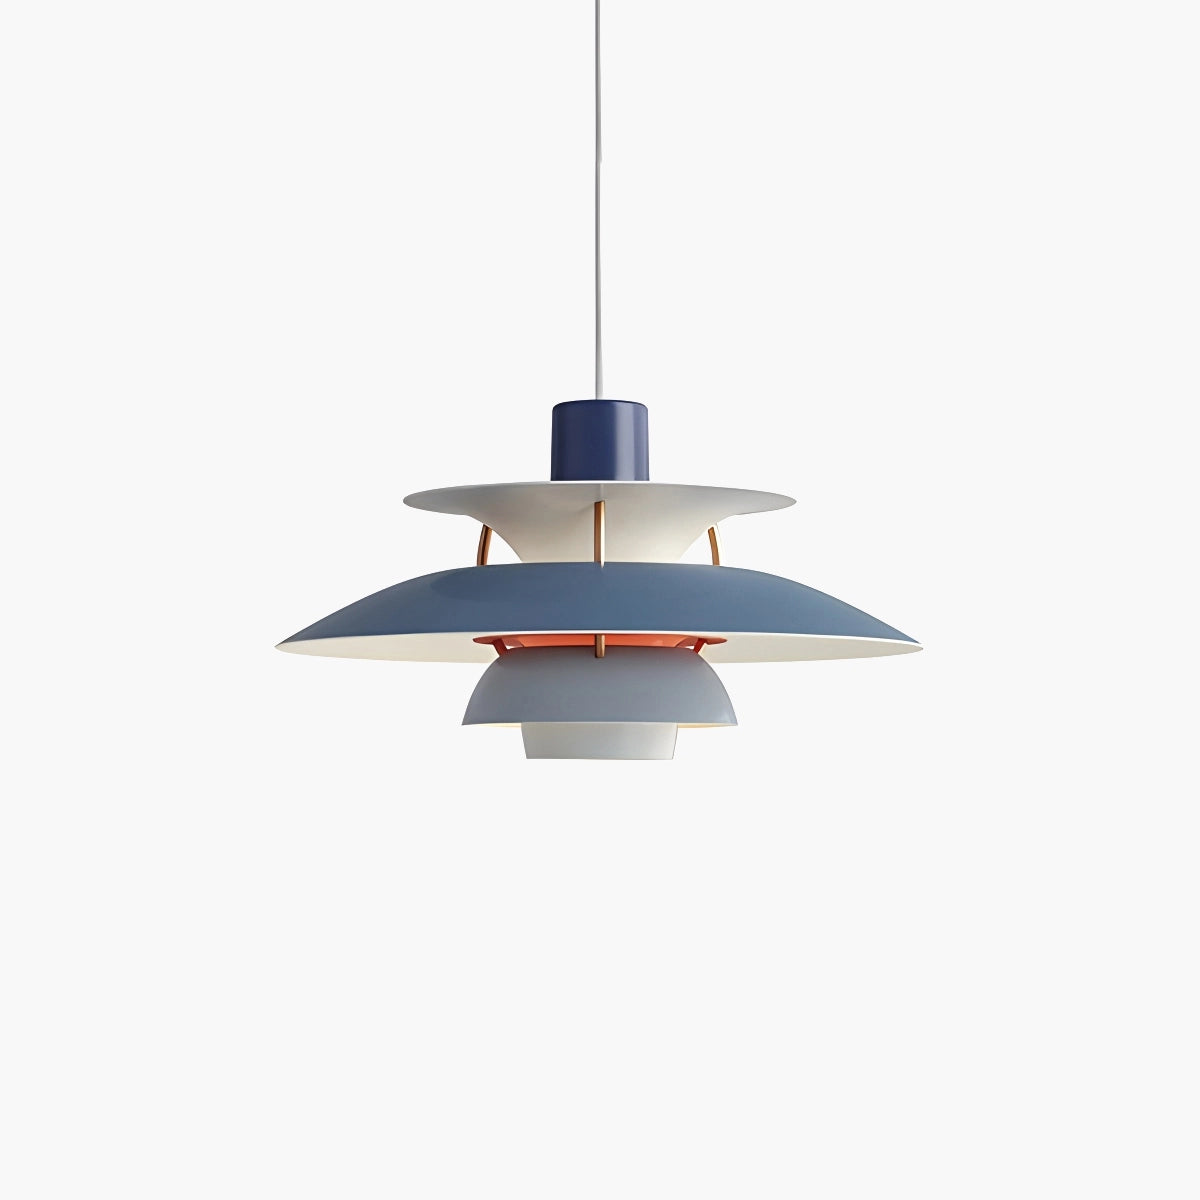
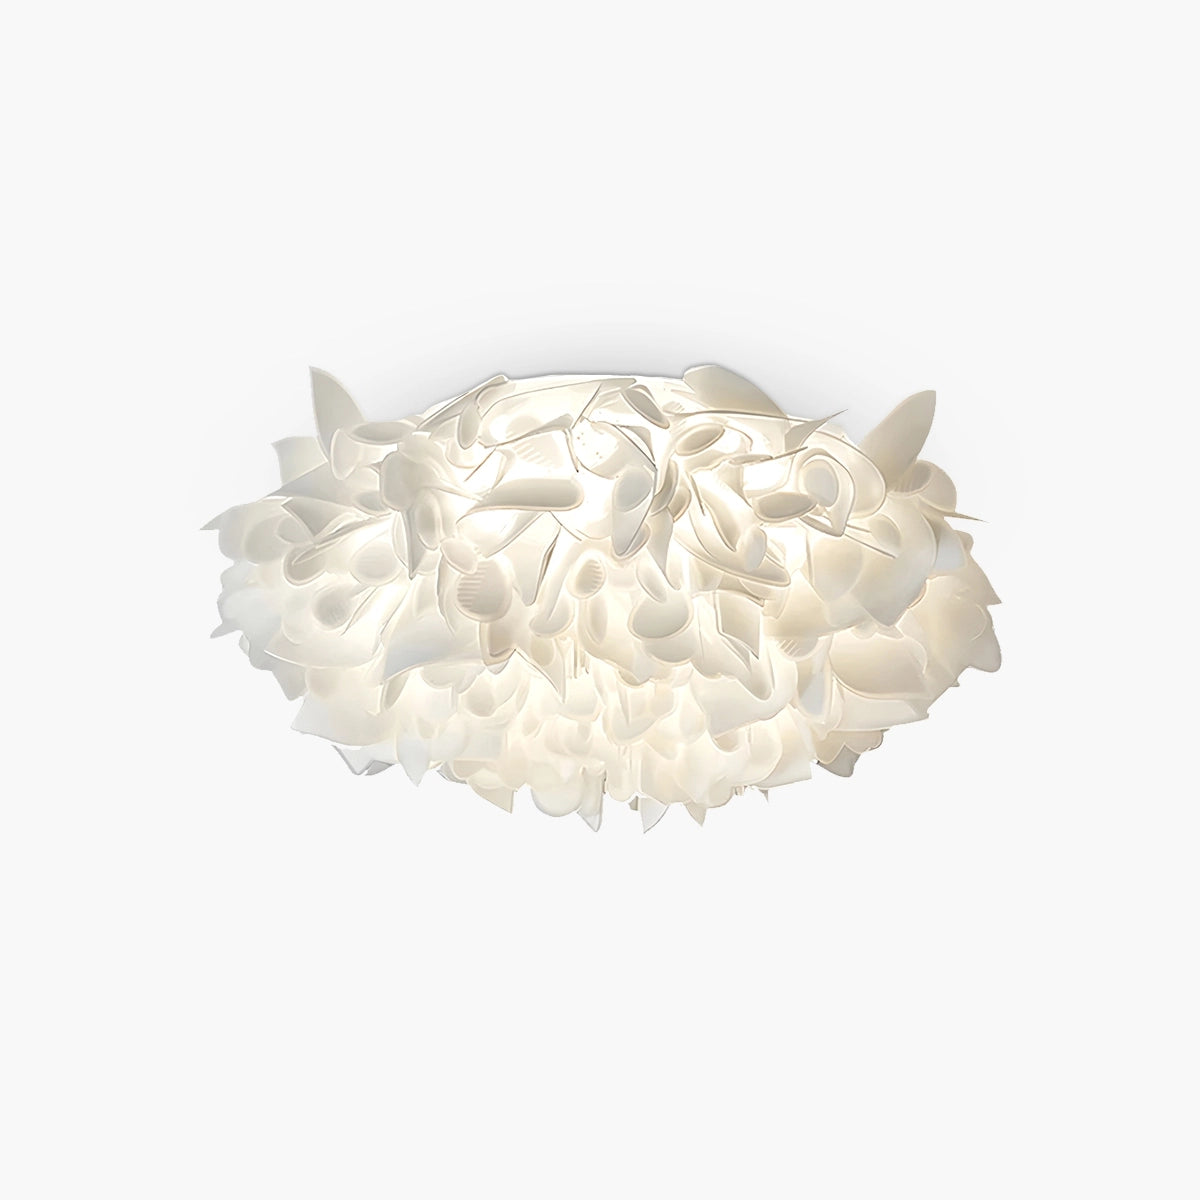
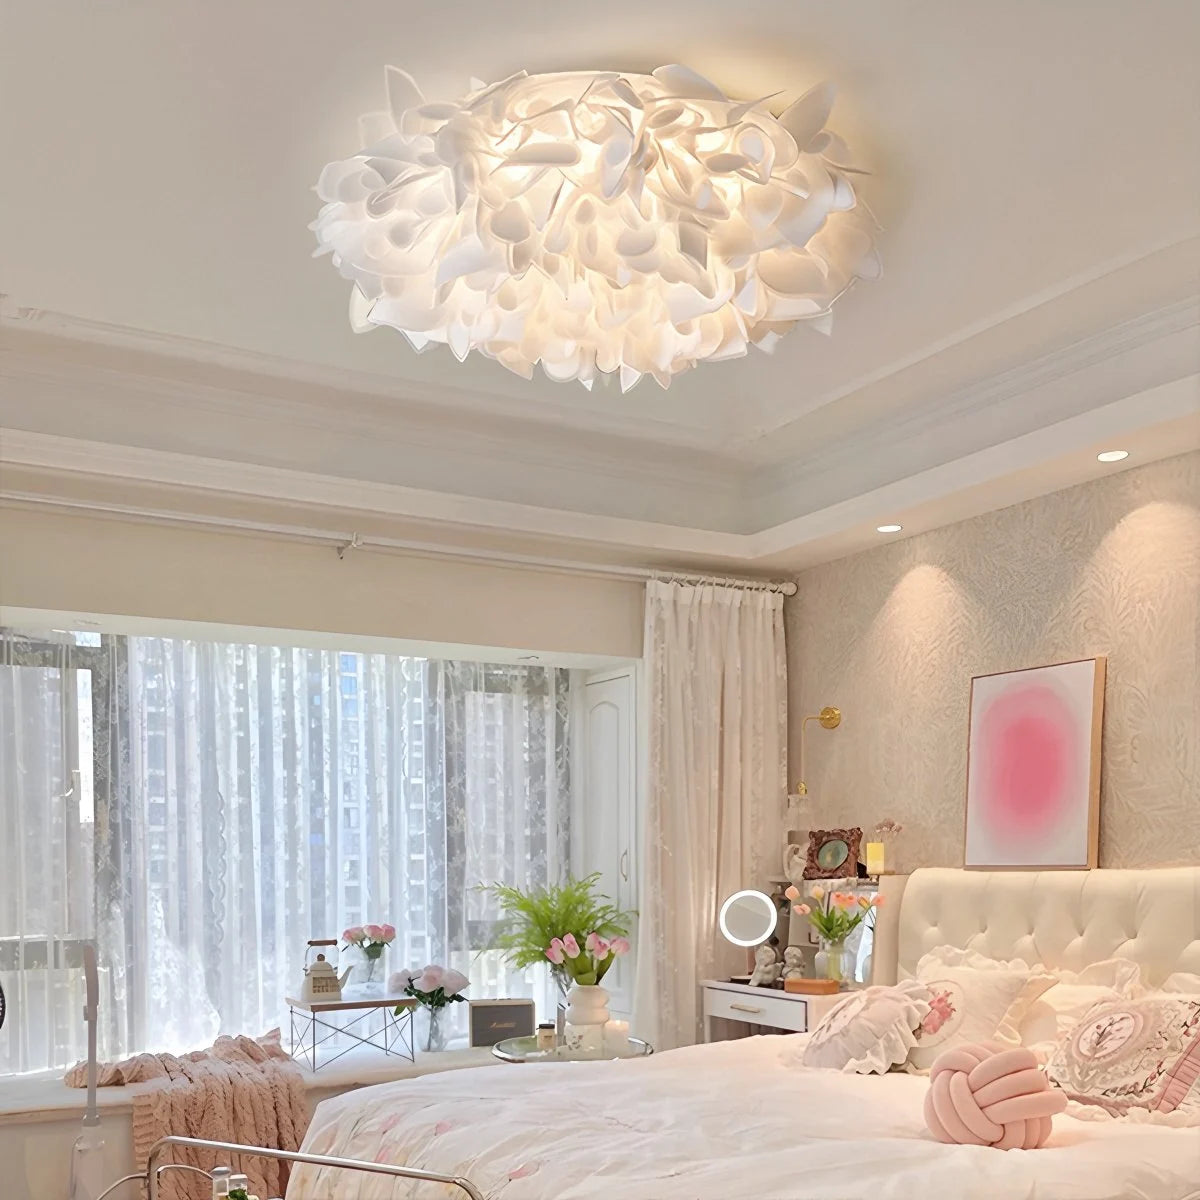
Many homeowners who choose fixtures from Antizer Lighting mention how thoughtful design makes it easier to change chandelier bulbs without stress. When the cover comes off smoothly, the whole task feels way less intimidating. Antizer Lighting designs also consider balanced weight, so when you change chandelier bulbs, you’re not wrestling with awkward glass overhead.
Change Chandelier Bulbs Without Scratches On Glass
Changing a fixture overhead should not feel like a nerve‑racking stunt. When you change chandelier bulbs, small details protect finishes, crystal, and your sanity. Here’s how to keep everything scratch‑free and smooth.
Wrap bulbs in microfiber cloth when handling Glass or Acrylic covers
When you change chandelier bulbs, grip matters more than strength. A soft layer between your hand and the bulb reduces slips and protects delicate surfaces.
-
Preparation basics:
-
Use a clean microfiber cloth instead of a rough rag.
-
Check glass covers and acrylic covers for dust before bulb handling.
-
Keep a dry cleaning cloth nearby for quick wipe‑downs.
-
-
Before you loosen anything
1.1 Turn off power and let the bulb cool.
1.2 Wrap the bulb fully for scratch prevention.
-
During removal
2.1 Apply light pressure with a gentle grip.
2.2 Rotate slowly to avoid grinding dust between the bulb and glass covers.
-
During installation
3.1 Still use the cloth while threading in the new bulb.
3.2 Tighten until snug, not forced.
This small habit makes every chandelier bulb change cleaner and safer. Antizer Lighting often recommends this approach in care guides because it keeps finishes looking fresh for years.
Use silicone-tipped pliers on delicate Transitional or Farmhouse fixtures
Sometimes bulbs stick. That’s when silicone-tipped pliers step in, not bare metal tools.
-
Tool choice:
-
Soft‑coated pliers protect trim.
-
Designed for delicate fixtures like transitional fixtures and farmhouse fixtures.
-
Ideal for careful tool usage and steady grip.
-
-
Assess the fixture
1.1 Confirm it’s cool and stable.
1.2 Identify tight E12 or G9 bases.
-
Protect the finish
2.1 Position silicone tips evenly.
2.2 Avoid squeezing decorative arms.
-
Loosen carefully
3.1 Turn slowly to prevent jerks.
3.2 Stop once resistance drops.
When you need to change chandelier bulbs that refuse to budge, this method supports proper fixture protection. It’s a smart move if you plan to replace chandelier bulbs regularly without marking painted or plated surfaces. Antizer Lighting fixtures are compatible with soft‑grip tools like these, which keeps maintenance stress low.
Reassemble pendants and fixtures carefully to prevent Crystal nicks
After you change chandelier bulbs, reassembly decides how the fixture looks at night.
-
Key focus areas:
-
Accurate reassembly of pendants and arms.
-
Steady careful handling of prisms.
-
Tight but balanced screws for solid installation.
-
-
Align components
1.1 Check component alignment at the canopy.
1.2 Match each crystal strand before tightening.
-
Secure gradually
2.1 Tighten opposite screws in turns.
2.2 Watch for pressure points that cause crystal nicks.
-
Final inspection
3.1 Ensure all fixtures hang evenly.
3.2 Confirm overall damage prevention by lightly shaking the frame.
A smooth chandelier bulb change is not just about swapping parts; it’s about keeping shine intact. When you change chandelier bulbs with patience and the right habits, your lighting stays flawless and ready to glow.
FAQs about Change Chandelier Bulbs
How can I safely change chandelier bulbs without damaging the fixture?
Changing chandelier bulbs can feel risky—especially with a delicate Crystal or Glass arm swaying above your head.
-
Turn off power at the breaker before touching any E12 Candelabra or E26 Medium Base socket.
-
Stabilize Chain Hung or Adjustable Height fixtures so they don’t shift mid-replacement.
-
Hold bulbs with a microfiber cloth to protect Chrome, Bronze, or painted Metal finishes.
-
For tight sockets in Modern or Farmhouse designs, use silicone-tipped pliers gently—never force a stuck LED or Incandescent bulb.
A steady hand protects both the fixture and your nerves.
What type of bulbs should I use for my chandelier?
The right bulb shapes the mood of your Dining Room, Living Room, or dramatic Foyer.
Short guide:
-
LED (Energy Efficient) – long life, ideal for Multi-Tier or hard-to-reach fixtures.
-
Dimmable LED or Halogen – smooth Ambient Lighting for a Traditional or Transitional setting.
-
Smart Bulb – app-controlled brightness in a Contemporary Bedroom.
-
CFL or Incandescent – warmer glow, but shorter lifespan.
| Bulb Base | Common Use | Typical Style Match |
|---|---|---|
| E12 | Candelabra arms | Traditional, Bohemian |
| E26 | Larger shades | Modern, Industrial |
| G9 / GU10 | Compact heads | Contemporary, Recessed |
Match wattage and dimmer compatibility before restoring power—one mismatch can leave a room in frustrating darkness.
Why isn’t my new dimmable bulb working after I change chandelier bulbs?
The tension usually hides in the switch, not the bulb.
-
Old dimmer switches built for Incandescent bulbs often clash with modern Dimmable LED models.
-
Check compatibility inside the socket housing—especially in Flush Mount or Semi-Flush Mount fixtures.
-
Confirm the base type (E12, E26, G9) is fully seated but not overtightened.
-
Inspect wiring if the fixture hangs in a busy Kitchen Island or Hallway where vibration loosens connections.
Upgrade to an LED-compatible dimmer and your chandelier—Crystal, Wood, or Acrylic—returns to its intended glow.


