

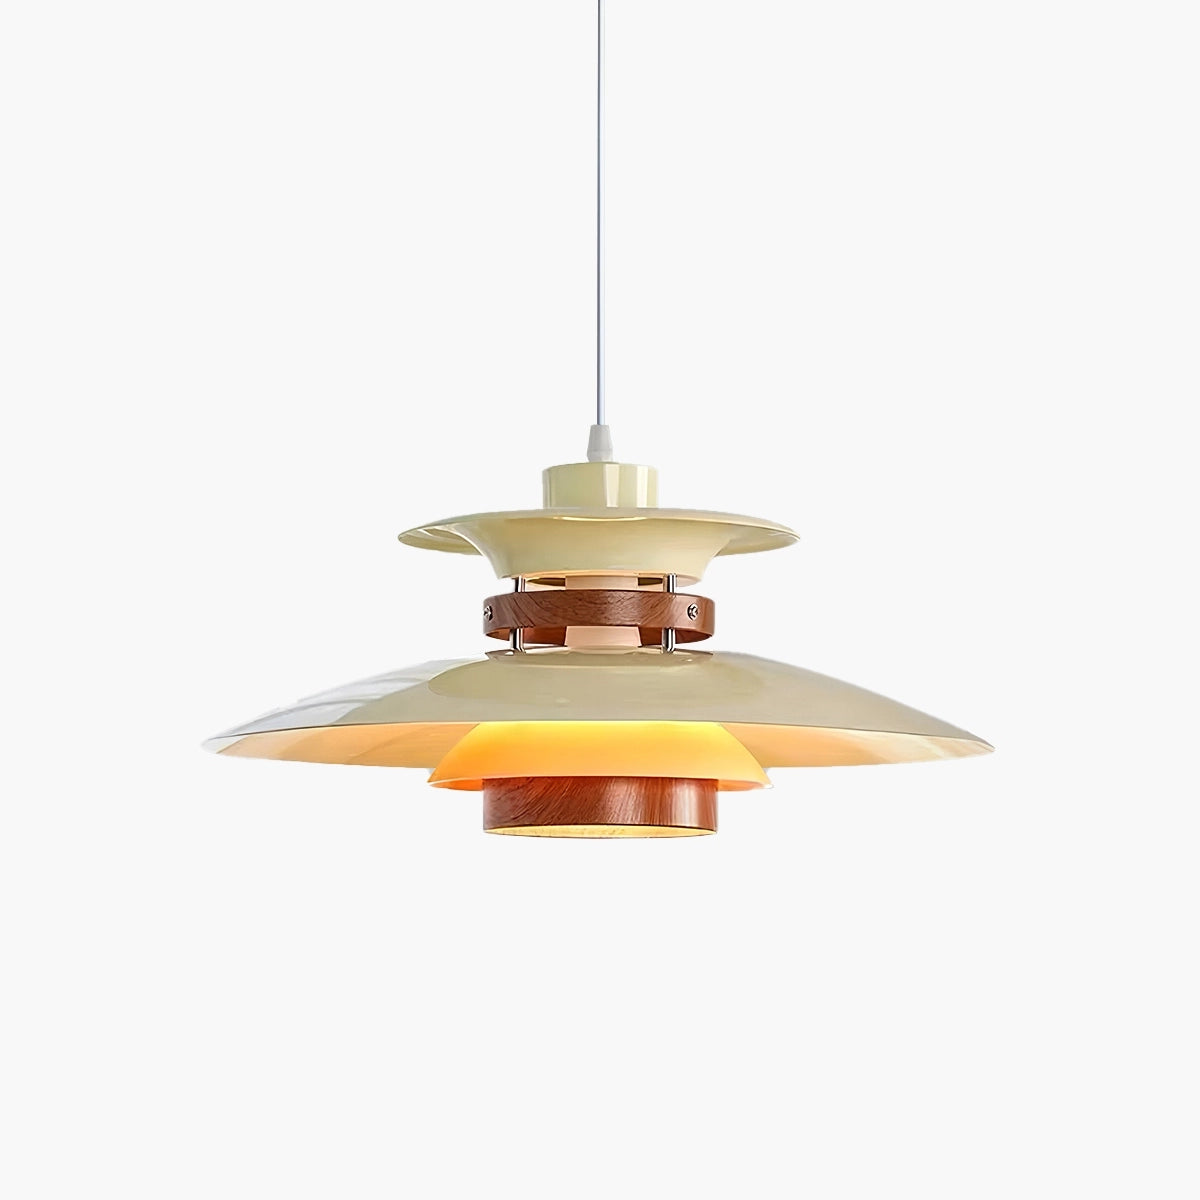



A successful statement chandelier is sized for more than the room. It must fit the object or void below it, look balanced from important viewpoints, provide the right kind of light, and remain possible to install and maintain. The more dramatic the fixture, the more practical the planning should be.
Use the Antizer Scale–Sightline–Service test. First establish visual scale, then inspect every major sightline, and finally prove that the fixture can be installed, cleaned, and serviced safely.
1. Scale the chandelier to its visual territory
In a dining room, the table is usually the chandelier's visual territory. In a foyer, it may be the entry volume or staircase opening. In a double-height living room, it may need to relate to the seating group from below and the architecture from an upper landing.
That is why one universal diameter formula cannot finish the decision. Room dimensions are a starting point, but furniture, ceiling height, negative space, and the fixture's density change how large it feels. An airy ring or branching form may occupy a wide diameter without appearing heavy; a compact chandelier with dense glass or stone can feel more substantial.
Browse Antizer's chandelier collection and compare not only width, but also body height, overall suspension, material density, and the number of visible elements.
2. Map the sightlines before choosing the drop
A chandelier can look balanced from directly below and awkward from the doorway. Photograph the space from the main entrance, dining seats, adjoining room, staircase landing, and upper floor. Mark the proposed top, body, and lowest point on each image.
| Location | Primary sightline | Clearance concern | Design priority |
|---|---|---|---|
| Dining room | Seated across the table | Faces and serving space | Connection to table shape |
| Foyer | From entrance and adjacent rooms | Walking path and door movement | Welcoming view from several angles |
| Staircase | Ascending, descending, and landing | Headroom and railing relationship | Interesting composition from changing levels |
| Double-height room | Ground floor and balcony | Large vertical drop | Balance across the full volume |
For dining rooms, the table protects the fixture from walk-through traffic, but seated sightlines still matter. In foyers and stairs, required clearance and local rules should be resolved by the installer before the order is finalized.
3. Decide whether the chandelier is an anchor or an illuminator
Some chandeliers create broad useful light. Others are primarily luminous sculpture. Neither is wrong, but the room must know the difference. If a decorative chandelier produces gentle or directional light, support it with ceiling, wall, or floor sources rather than choosing an excessively bright version and hoping it performs every task.
Compare lumen output when available, not wattage alone. U.S. Department of Energy guidance explains that watts measure electrical input while lumens measure light output. Also evaluate shade opacity, source visibility, downlight and uplight distribution, and the surfaces that will receive the light.
4. Choose the material for both daylight and evening
- Clear or textured glass can sparkle and preserve visual openness.
- Alabaster offers natural variation and a softly glowing, sculptural presence.
- Metal defines silhouette and can direct or shield the source.
- Crystal multiplies highlights, which can be dramatic but also increases cleaning surfaces.
- Fabric or paper-like shades soften the object and the glow, with care requirements that should be checked.
View product images both switched on and off. A chandelier is an architectural object throughout the day. For a closer material decision, read Alabaster vs. Glass Lighting.
5. Treat maintenance access as a design criterion
Before choosing a tall or multi-layer chandelier, answer practical questions that product photography cannot solve:
- How will the installer reach the ceiling point?
- Can the assembled fixture pass through the access route?
- How will glass, crystal, or stone elements be attached and checked?
- How will the fixture be dusted or cleaned after installation?
- Can lamps, LED modules, or drivers be serviced without extraordinary access equipment?
- Where will the packing materials be stored until installation is accepted?
A chandelier that is perfect on day one but impossible to maintain is not a successful long-term choice. Complex fixtures should have a documented installation and service plan before purchase.
6. Confirm controls and light appearance
Dimming is especially useful for dining and entertaining, but compatible components matter. Confirm whether the exact variant is dimmable, what driver or lamp it uses, and which controls are supported. ENERGY STAR notes that not every LED works well with every dimmer.
Correlated color temperature (CCT) describes the warm or cool appearance of the source. Lower values appear warmer; higher values appear cooler. Choose it in relation to wall color, wood, stone, artwork, and nearby light sources—not from the product page in isolation.
7. Make delivery and installation part of the buying timeline
Large lighting should not be ordered to arrive the week it is needed. Antizer's current shipping policy states 2–6 business days for processing, followed by estimated transit ranges that vary by shipping method. Oversized or customized fixtures may need additional preparation. Check the live policy and the exact product page before scheduling trades.
Inspect the fixture within the return window and before installation. Antizer's refund policy states that installed or altered items are not accepted for return. Keep packaging, photograph the delivered components, and coordinate inspection with the installer.
The statement chandelier checklist
- The fixture fits its visual territory, not just the room dimensions.
- Its body and lowest point work from every important viewpoint.
- The light output and distribution suit its intended role.
- The material looks appropriate both lit and unlit.
- The ceiling structure, electrical requirements, weight, and suspension are confirmed.
- Installation, cleaning, and component access have a realistic plan.
- Delivery and inspection happen before the installation date.
For a complete room rather than a single focal point, continue with How to Layer Living Room Lighting. Always give the chosen product documentation and site conditions to a qualified installer, and follow local electrical and building requirements.


