

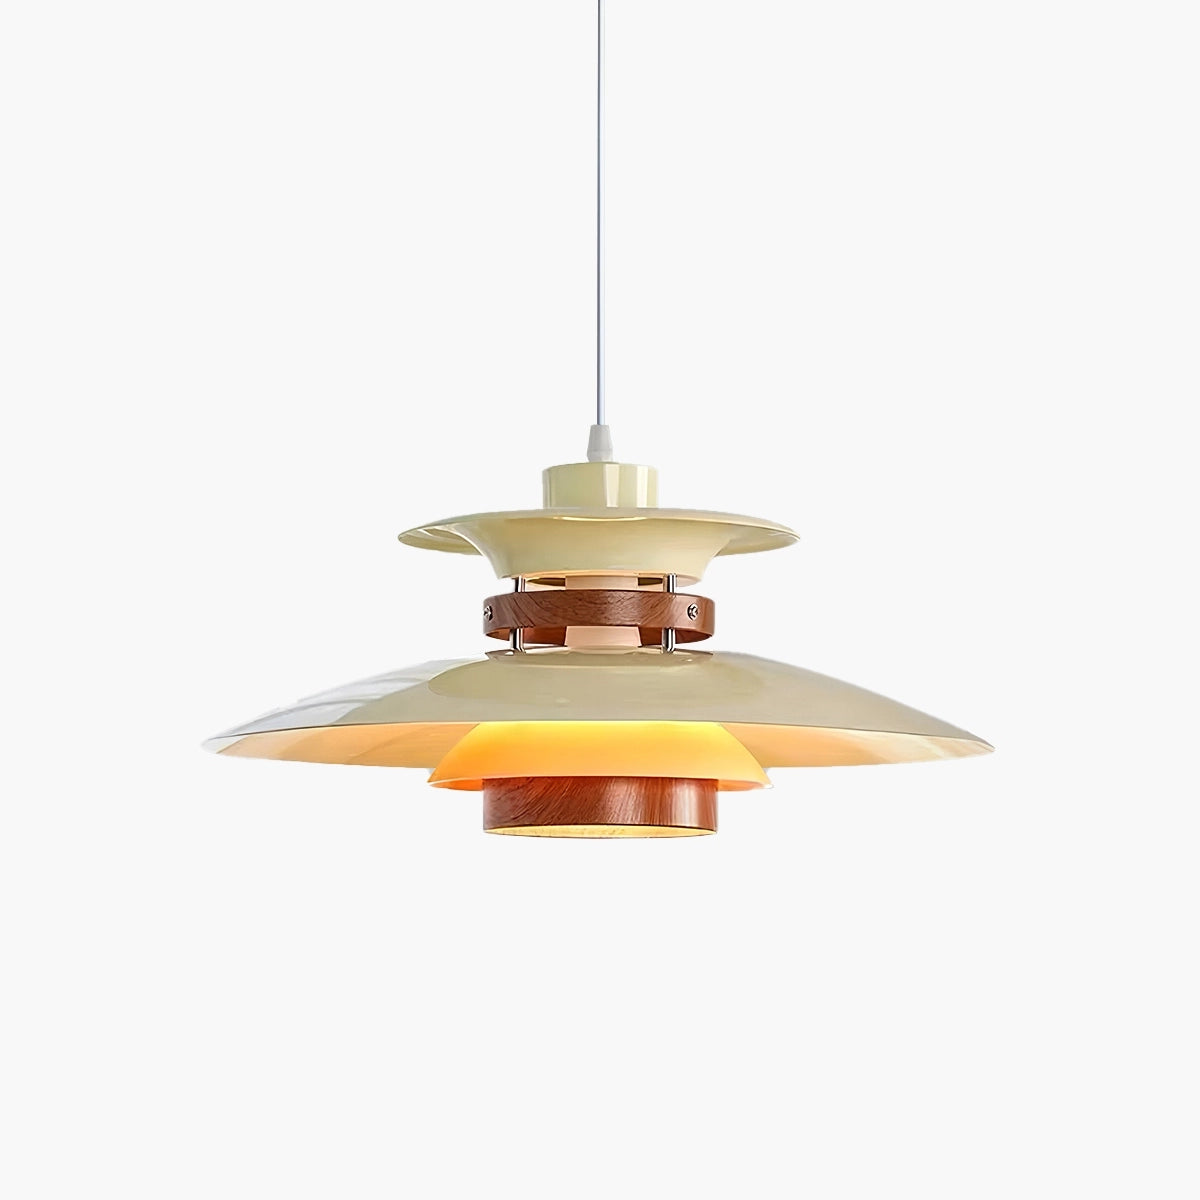

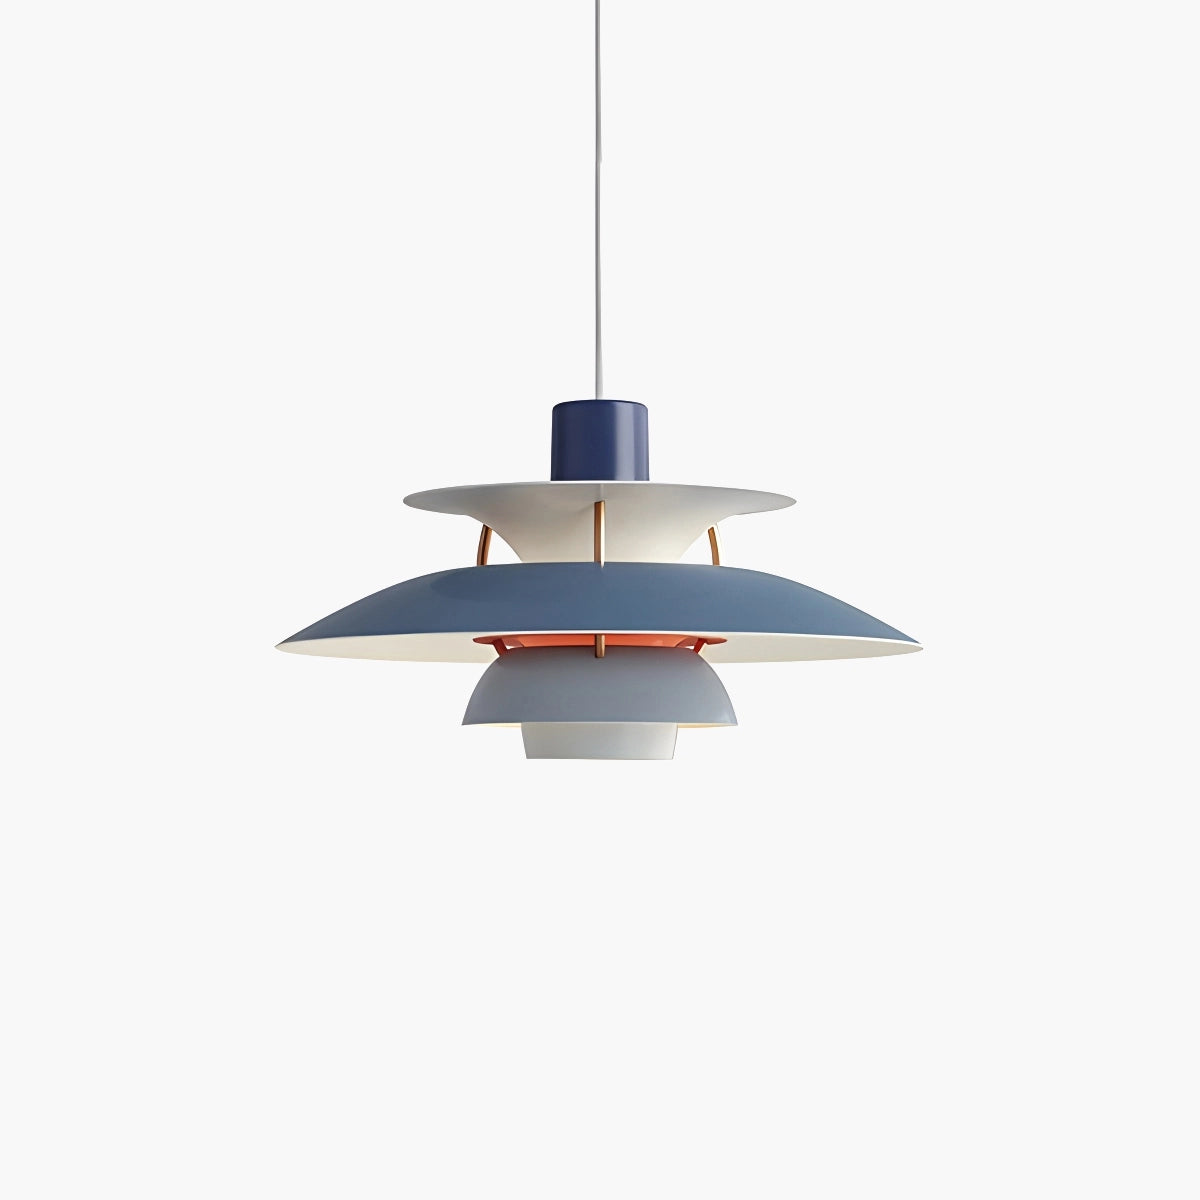

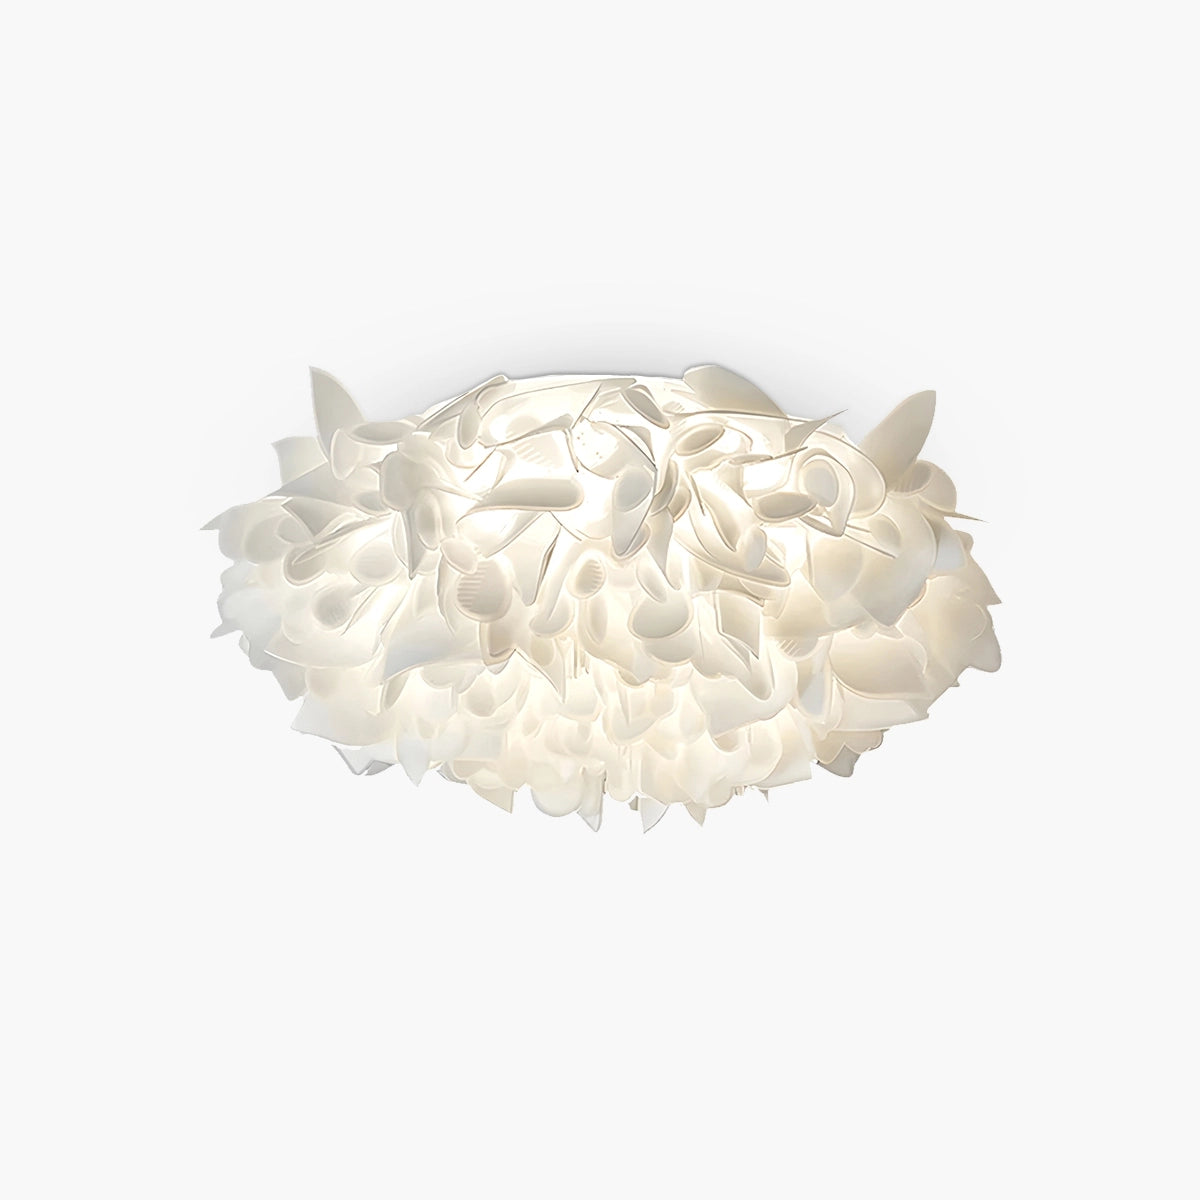

A ceiling fan light dim enough to feel useless can sour a room quickly. You hit the switch and get a weak, uneven glow.
Recent guidance from the U.S. Department of Energy and ENERGY STAR notes widespread shifts toward LED-integrated fixtures, citing improved brightness consistency, longer lifespan, and reduced maintenance in residential lighting.
Most fixes are simple, but sometimes upgrading is the cleanest path to steady, bright light.
Quick Answers to a Ceiling Fan Light Dim Mystery
➔ Check bulb and wiring: replace aging incandescent with LED integrated units and tighten switch and light-kit connections.
➔ Inspect voltage drop: review wiring gauge, downrod length and circuit load that can sap lumen output.
➔ Refine activation: clean or replace frayed pull chains to ensure full power delivery.
➔ Embrace LED upgrade: enjoy higher lumen output per watt, flicker-free performance and longer lifespan.
➔ Add smart control: use app- or voice-enabled bulbs to adjust brightness, color temperature and timers.
4 Common Causes Of Dim Ceiling Fan Light
A ceiling fan light dim issue can feel random, but it’s usually tied to aging parts or small electrical hiccups. When your ceiling fan light dim behavior shows up, checking a few core components can quickly bring that fan light brightness back.

Old Incandescent Bulb Losing Lumen Output
-
Aging incandescent bulb → reduced lumen output → noticeable ceiling fan light dim effect
-
Warm light shifts dull as filament weakens
-
Remove old bulb
-
Compare brightness with a newer bulb
You’ll often notice:
• fading glow
• uneven brightness
• recurring ceiling fan light dim moments
Long-term, an aging bulb simply can’t keep up. Many users switching to Antizer Lighting report more consistent ceiling fan light performance without that constant dim light frustration.
Loose Wall Switch Compatible Wiring
-
wall switch issues often hide behind plates
-
loose connection disrupts electrical circuit flow
-
Turn off power
-
Inspect wiring
-
Tighten connections
Nested checks:
-
Wiring condition
-
secure terminals
-
no corrosion
-
-
Compatibility
-
dimmer rated for fan
-
stable voltage flow
-
When wiring slips, your ceiling fan light dim symptoms appear as flickers or partial brightness, not total failure.
Frayed Pull Chain Activation Issues
Short signs show up fast:
-
stiff pull chain
-
delayed activation
-
unreliable switch response
Then deeper issues follow:
-
mechanism wear
-
internal contacts fail
-
inconsistent light trigger
-
-
physical damage
- frayed chain limits motion
That partial engagement often leads to a ceiling fan light dim situation instead of full illumination.
DC Motor Technology Affecting Brightness
Modern fans use DC motor systems that adjust power differently. That’s great for airflow, but:
-
motor control can limit voltage to the light
-
older bulbs struggle with this setup
Multi-layer check:
-
technology type
- DC vs AC
-
brightness control system
- remote or smart module
-
bulb compatibility
- LED performs better
If your ceiling fan light dim issue happens after upgrading fans, it’s often this mismatch. Choosing optimized lighting, like options from Antizer Lighting, helps balance fan efficiency with steady light output.
Can Voltage Drop Cause Dim Light?
A ceiling fan light dim issue often sneaks up on people, especially when everything “looks fine” on the surface. The truth is, small electrical details—like wiring quality or circuit load—quietly shape how bright your fan light feels. Let’s break down why your ceiling fan light dim setup might not be delivering full brightness.

How Improper Wiring Triggers Voltage Drop
-
At the core of a ceiling fan light dim problem sits Improper wiring, which disrupts the Current path and weakens Circuit integrity.
-
Wiring design flaws
-
Undersized Wire gauge increases Electrical resistance
-
Longer runs without compensation worsen Voltage drop
-
-
Connection issues
-
Loose joints create unstable flow
-
Heat buildup further raises resistance
-
-
Real-world effect
-
Reduced voltage reaching the fixture
-
Noticeable ceiling fan light dim behavior and flicker
-
-
Antizer Lighting setups are engineered to stay stable even when minor wiring inconsistencies exist, helping reduce these drops before they become visible.
Long Downrod Extensions and Voltage Loss
A longer Downrod extension subtly stretches the Wire length, and with that comes extra Electrical resistance. It’s not dramatic, but enough to make a fan light dim in high-output fixtures.
• More length → slight Voltage loss
• Smaller Conductor size → greater impact
• Weak Power delivery → softer brightness
For homes with tall ceilings, Antizer Lighting designs compensate within Ceiling fan wiring, keeping light output consistent even when extension length grows.
Overloaded Circuits vs. Energy Efficient Fans
Fixing a ceiling fan light dim situation sometimes comes down to load management:
-
Check the Overloaded circuit
-
Compare total Electrical load vs Amperage rating
-
Reduce heavy Power draw devices
“Modern LED-based fixtures can cut lighting energy use by over 50%, easing circuit strain,” notes a 2025 International Energy Agency update.
That’s where an Energy efficient fan shines. Lower Wattage consumption and smart LED technology mean less strain on the breaker and fewer dimming issues. Antizer Lighting leans into this efficiency, helping your ceiling fan light stay bright without overloading your system.
5 Easy Steps To Revive Dim Ceiling Fan Light
A ceiling fan light dim issue can sneak up and ruin a cozy room vibe. From loose wiring to dusty covers, small fixes can quickly restore your ceiling fan light brightness without overthinking it.

Tighten Connections for Flicker-Free Illumination
When a ceiling fan light dim problem shows up, shaky connections often sit at the core. Start by turning off power, then:
-
Check terminals and screws inside the light kit
-
Inspect electrical joints near the switch
-
Re-seat loose wiring for stable illumination
Then move deeper:
-
Remove the light cover
-
Tighten every visible contact point
-
Restore power and test flicker response
A snug setup keeps your ceiling fan light dim from returning and stabilizes the whole light system.
Swap to LED Integrated for High Lumen Output
Old bulb tech struggles to keep up. If your ceiling fan light dim persists, upgrading matters.
-
Replace outdated lamps with LED options
-
Choose integrated designs for consistent output
-
Match fixture size to avoid uneven brightness
Short take: brighter, cooler, longer-lasting.
Many users switching to Antizer Lighting notice stronger lumen consistency without extra energy draw.
Clean Dust and Debris for Optimal Brightness
Dust blocks more light than expected. A ceiling fan light dim glow can simply be a dirty cover or globe.
• Wipe the fan blades
• Clean inside the light housing
• Remove built-up debris
A quick clean often restores lost brightness instantly.
Adjust Pull Chain Activation Smoothly
A worn pull chain can interrupt full power flow.
-
Step 1: Test each switch click
-
Step 2: Listen for smooth activation
-
Step 3: Replace faulty mechanism if needed
Smooth operation ensures your ceiling fan light dim issue isn’t caused by partial contact.
Upgrade to Smart Bulb Compatible Control
Modern fixes go beyond basics. A ceiling fan light dim setup can benefit from smarter control layers.
-
App-based system adjustments
-
Voice-ready technology
-
Remote dimming precision
Nested upgrades:
-
Core layer
-
Ensure compatibility
-
Control layer
-
Sync app
-
Set schedules
-
Antizer Lighting solutions blend clean design with flexible upgrades, helping your ceiling fan light brightness stay consistent without constant tweaking.
LED Vs. Incandescent: Fan Light Brightness Showdown
Picking the right vibe for a ceiling fan light dim setup can feel oddly tricky. You want smooth brightness, decent energy use, and something that doesn’t look outdated. Let’s break down how modern light options stack up so your fan doesn’t just spin—it actually shines right.

LED Integrated Efficiency
-
Core performance layers:
-
Efficiency and output
-
LED systems push higher brightness with less energy
-
Stable light output keeps your fan area evenly lit
-
-
Integrated design advantages
-
Built-in integrated modules reduce bulk
-
Cleaner installs for a ceiling fan light dim setup
-
-
-
Functional tuning for daily use:
-
Step 1: Adjust ceiling fan light dim levels for mood shifts
-
Step 2: Fine-tune fan light dim brightness through smart controls
-
Step 3: Sync color temperature with time of day
-
Warm at night
-
Neutral during work hours
-
-
-
Smart adaptability:
-
Works smoothly with dim ceiling fan light systems
-
Compatible with automation for ceiling fan light dim control
-
Antizer Lighting leans into this space with efficient builds that keep brightness high while lowering wasted energy, making your ceiling fan light dim experience feel effortless.
Incandescent Bulb Warm White Output
Incandescent setups still carry that familiar warm white charm. The filament inside each bulb creates a soft glow, which feels cozy but comes with trade-offs in efficiency and long-term output stability.
• Strengths
-
Rich light tone, easy on the eyes
-
Natural dim ceiling fan light transitions
1) Limitations
-
Higher energy use for the same brightness
-
Shorter lifespan compared to LED
✦ Real-life feel
That classic incandescent glow works great for relaxed spaces, but when you push a ceiling fan light dim setup harder—like brighter rooms or longer usage—the drop in efficiency becomes obvious.
Short takeaways:
Soft vibe. Higher cost. Lower output control.
For those sticking with a traditional look, Antizer Lighting offers options that bridge classic warm white appeal with improved control, making ceiling fan light dim adjustments a bit more practical without losing that nostalgic feel.


